The Gunda-Gunda
Gunda-Gunda is the Zulu name for the classic 'cotton reel car' that uses an elastic band for power, and a wax disk to slow it down.
This one is built from the kit supplied by The University of KwaZulu-Natal (thankyou Prof!) and I really enjoyed it. Construction is simple and I spent a pleasant hour making it then playing with it with my 7 year old son. (In fact it is right here in front of my monitor and now and then while thinking I wind it up and watch it crawl over the bric-a-brac on my desk.)
In fact this thing is so simple to make that I did it from memory, having taken the instruction sheets to work to scan them and the left them there that night as they were 'hidden' in the scanner and I forgot them entirely. I am now contemplating a 4x4 version, and some other modifications for increased offroad performance.
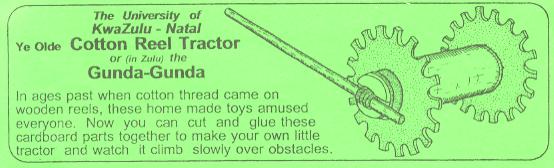
The front of the information sheet.
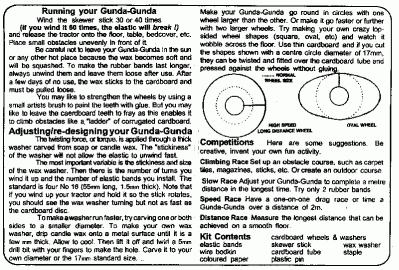
The 'additional information' side of the instruction sheet. The other side has the building instructions (not shown here to preserve what little is left of any proprietory information after you see all the fotos here :-).
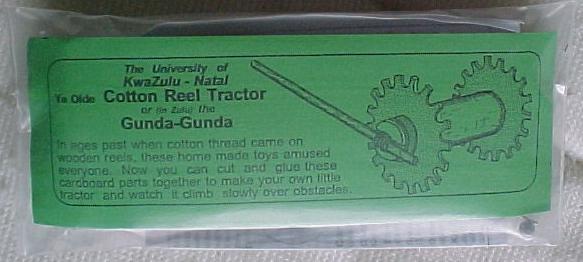
The kit arrives in a heat sealed plastic envelope with all the materials you need.
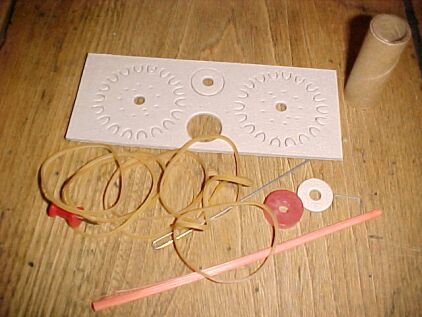
The contents of the kit. All you need, including glue in a little packet not shown here. You will need a pair of good scissors, or as I used, geared tinsnips which make cutting the thick cardboard very easy. They will be shown further down this page. I elected to use my own quick setting white glue as I was eager to get finished and did not know if the supplied glue was quick setting.
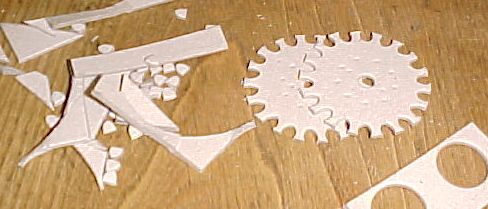
After cutting out the pre-stamped wheels you are left with a lot of little bits and 2 wheels. The edges of the wheels could be reinforced with some glue or nail varnish as
the cardboard does fuzz up over time.
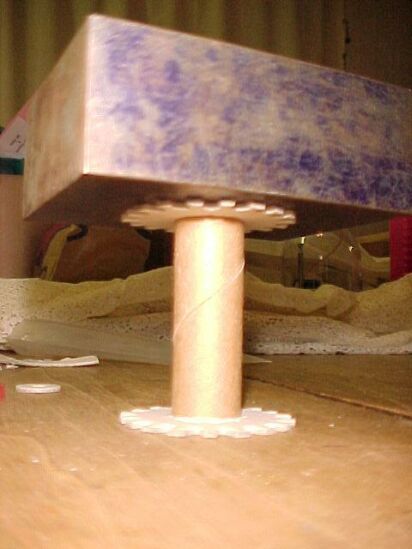
A little glue around the ends of the axle tube and one can stand it on end with a weight on it (this is my portable anvil, an offcut from a 60x60mm mild steel bar). My bottle of glue claims to be set after clamping for 12 minutes, so that is how long it got!
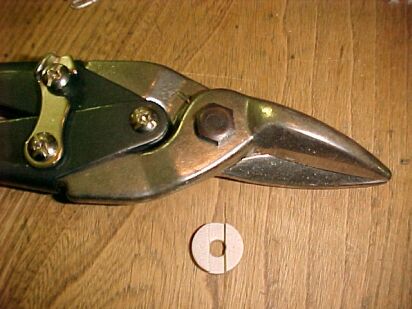
Around about now I got carried away and took no progress images, ending up with the glued together drive washer. One simply cuts the one washer into 3 peices alongside the holde edges, then glues the outer bits to the remaining washer. This gives a groove in which the stick can sit and drive the device.
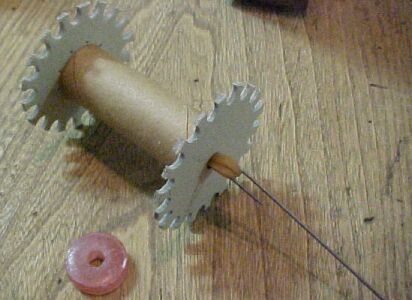
This one shows the elastic bands threaded through and ready for the wax and the drive washer to be fitted before the stick is inserted. The bit of wire provided for pulling this through really works well.
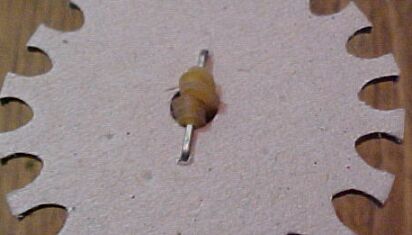
The other end of the elastic band motor is held by a simple staple through the holes provided.
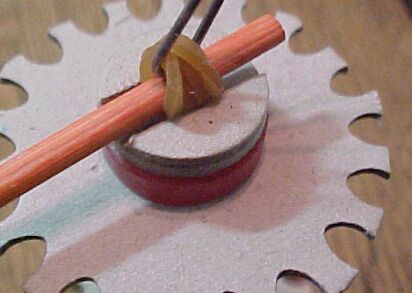
The washers are on and the stick inserted. You may hav enoticed in the 4th image that the stick had a frayed end where a bit had split off from the side for a few centimeters. I glued that bit back on so that it would not cause splinters or interfere with the operation.
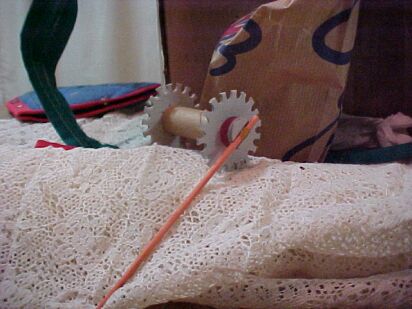
Successfully climbing the first obstacle to hand, the 5 inch high pile of table cloth we'd pushed out of the way so we could build on the dining table.
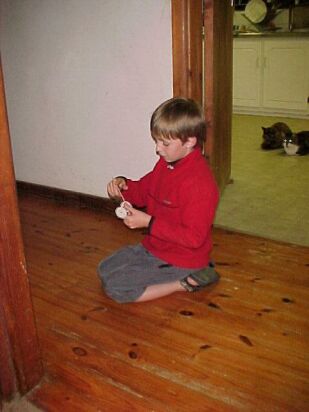
Happiness is a new toy (for boys and men), while the cats wait for supper.
For more information and to order kits.... (note that I, the web page creator, am not involved in this project other than as a satisfied builder)
Department of Mechanical Engineeering
University of Natal
Durban
South Africa
4041

Tel 031 260 3206
Fax 031 260 3217

Sadly Prof Bindon is no longer contactable as he passed away in 2016.

Maybe this web site can help you instead Science Toy Makers.
Random Quote
Deprecated: Implicit conversion from float 252647.99999999997 to int loses precision in /usr/www/users/swarfpejpy/php/ternd.php on line 39 The fruit of the righteous is a tree of life; and he that winneth souls is wiseLast modified: April 25 2026 17:25:02.